An Example of Recognizing and Responding to Sparks
Recognizing a Spark and then responding are skills that any parent can learn. These skills are vital to using The Spark Station to help your children love learning. These skills facilitate a parent’s ability to inspire their children and help them feel excitement about learning new things.
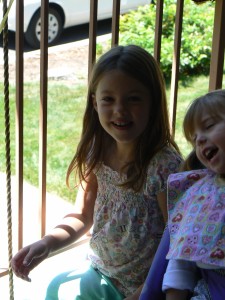
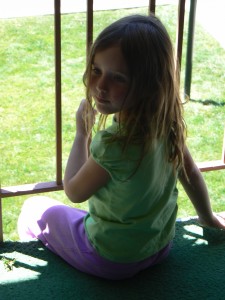
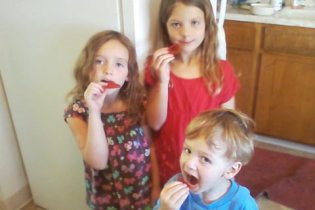
My grandchildren came from Colorado for a few days. I had two girls, Ashley, aged eight and Elizabeth aged six. Here is the story of a wonderful Spark, the “familiar conversations” we had, how I followed the Spark and how I used The Spark Station and Spark Station letters to extend and magnify the Spark. Over the next few days you will go with me and my granddaughters and experience what it’s like to recognize a Spark and inspire a child.
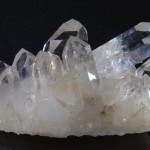
My project for them while they were here was to help me put all the family mementoes and knick knacks into two hutches. It was really fun. I was able to tell them the stories behind each item. They ooed and awed over all the pretty things I have. Some of the last items they put into the hutches were crystals. There were a couple of desert roses, some exquisite quarts crystals, and part of an amethyst filled geode that my daughter had gotten for me in Southern Utah.
Ashley asked me what they were and I told her that they were crystals from the desert. She then asked how they were made. I replied that I didn’t know exactly how they were made but that they grew in rocks and in the ground. I told her that we could find out more about crystals if we went to the library and we could also grow some crystals ourselves.
The three of us went to the computer right then and googled “how crystals grow”.
One of the first sites was an instructional video on how to grow sugar crystals. The girls watched it three times. Then they gave me blow by blow directions on what we needed to do. We mixed one cup of sugar and three cups of water in a pan and brought it to a boil. We added a few drops of food coloring. Then we poured it into two jars.
We wrapped chenille stems (pipe cleaners) onto butter knives and lowered them into the liquid and put the jars in the window sill in the kitchen. Ashley wanted to know why we were using chenille stems instead of string. Wouldn’t our candy be fuzzy? I said that I thought that the chenille gave the crystals a lot of small spaces to grow on so they would grow faster.
While we were waiting for the sugar and water to boil I realized that this is how you make suckers. So we added some corn syrup to the left over mixture (no recipe, just poured a little in) and set it to boil again. Then I taught my granddaughters about making candy and what soft ball, hard ball, and hard crack were. We tested the candy quite often so they could see and taste all the stages. When it was to hard crack we poured in into a buttered pie pan and let it cool. I told the girls this was called Glass Candy.
When it was cool we turned it out of the pan and broke it into pieces with a hammer. Lizzy said that it looked like glass. I asked her what made it look like glass. Both she and Ashley mentioned that it had sharp edges (some pieces did), you could see through it, and it broke like glass. I asked them if they knew what it was called when you could see through something like glass. They didn’t know. Then we talked about the words transparent, translucent and opaque. This part of responding to the Spark had taken about 30-40 minutes.
Tomorrow I will share our trip to the library and other exciting events!
Possibly Related Posts:
- To Waste or Not to Waste, That Is The Question
- Better Communication-Better Outcomes
- Children Learn Best When They Are Interested
- Inspiring Learning
- Family Philanthropy Project – How to Grow Your Family’s Heart by Jodie Palmer



{ 0 comments… add one now }