Stop in the box thinking

by Mary Ann on March 21, 2013

Getting out of the box can lead to more happiness

Getting out of the box can lead to more happiness

In the box thinking can happen at home!


We usually associate in the box thinking with business, either in creating new products or repairing business relationships.

Let me share a story about in the box thinking that has nothing to do with business. I have lived in my apartment for almost ten years. I love my apartment except for one thing, there are not many electrical outlets and they don’t all work well. I know, I know, I should get them fixed but as with most things that don’t cause enough discomfort, I just think about doing it, feel frustrated and suffer.

Because of the outlet situation I have always plugged my vacuum into the outlet in the bathroom which is just down a short hall from the living room. It is high on the wall by the mirror. It doesn’t hold the plug tightly and it frequently falls out and I have to plug it back in. It makes me so exasperated every time that I vacuum and usually by the time I am done I am angry at the vacuum and the plug, as if they are living things just out to make my life miserable. I have even been known to yell at the vacuum or the plug as if that is going to do any good. I was a victim to a home with lousy outlets! When I am ready to vacuum I sometimes think about how exasperating it is going to be. I am bugged before I start.
Getting a little help from a friend

Getting a little help from a friend

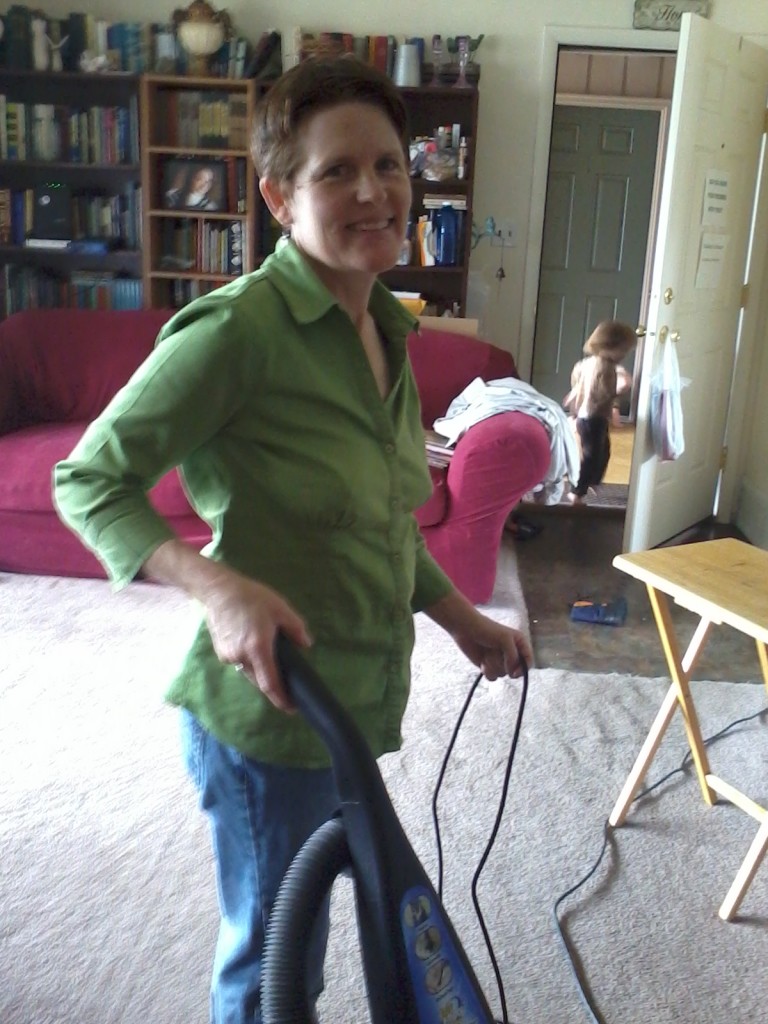
My daughter was helping me the other day and I noticed that she had plugged the vacuum in the kitchen which is also right off of the living room. I was amazed because it had never occurred to me to do that. I had always plugged it in the bathroom. I was often upset over the situation but I was busy and had a time line to meet. It was just get it done and get on to the next thing. This is an example of classic in the box thinking.

It took an outside view to help me to see another alternative to the problem that I was having. The next day she had another idea. She showed me that if I still wanted to use the bathroom plug all I had to do was wrap the cord around the towel rack hanging just above the plug and it would stay in. Imagine, two new possible solutions to my problem in two days after ten years of frustration. Both solutions were simple and workable.

I had gotten into the box when it came to vacuuming. Being frustrated and bugged and angry and feeling like a victim of bad outlets had become a habit for me.

I am sure you are saying to yourself how silly I am, how foolish to put up with a bothersome situation so long when there were some perfectly easy solutions right under my nose. You are right but that is what in the box thinking is…moving down one road and not taking the time to consider other alternatives,   feeling put upon, bothered, stuck and victimized.

I am telling you this story because this is what happens in our families. A child is bugging us, we can’t figure out how to solve a problem in our school efforts, we can’t seem to “fix” our schedule, the kids won’t do their chores,  and there are an abundance of other things.

We are all very busy moms and dads and sometimes we just do not take the time to step back and think out of the box in order to resolve an issue in our families  It is easier to just put up with things that are bugging us until they begin to cause real pain. By then we can be in real trouble.

It is also easier to blame someone else just as I blamed the vacuum cord and the plug. The real problem was easy to solve for my daughter who didn’t blame anything, who wasn’t willing to be frustrated and who was willing to STOP, look and see what other options were available.

Once we climb outside the box, all sorts of possible solutions emerge. Thinking out of the box is associated with creativity, it causes us to move in diverging directions, to consider a variety of solutions, to not feel like victims.

We all need help to get out of our boxes. If we make the effort we can find more peace in our families and in our relationships. When we learn to stop and look at our relationships in new ways we can solve our deepest, most difficult and persistent family problems.

 STOP in the box thinking

  • If you feel like a victim  that is a big red flag you are in the box
  • Stop blaming whatever is bothering you…a child, a spouse, a neighbor, a plug!
  • Take responsibility for the problem even if you think it isn’t your problem
  • This opens your mind to alternatives

Books to help you learn to stop in the box thinking

  • Leadership and Self Deception by The Arbinger Institute
  • The Anatomy of Peace by The Arbinger Institute
  • The Choice The Arbinger Institute
  • Bonds That Make Us Free The Arbinger Institute


If you like this post, please share it with your community by using one of the social share buttons.


Possibly Related Posts:


{ 2 comments }

The Good, Bad and Ugly of Parenting

by Mary Ann on February 20, 2013

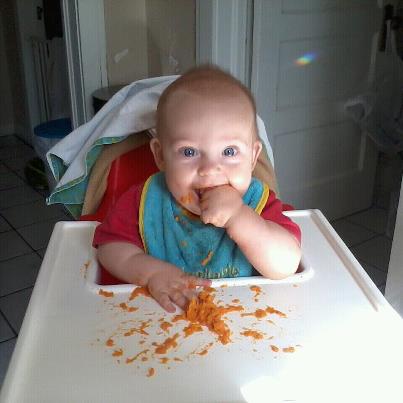
baby boy eating

The almost one year old, Benjamin

Tonight I cooked dinner with a baby riding on my hip and a three year old helping me brown onions and hamburger on the stove for “jelly” sauce (spaghetti sauce). It was a bit cumbersome trying to keep a three year old out of harms way while allowing her to help and an almost one year old grabbing for everything he could reach from my hip.

I did all this while trying not to step on anything that would send me crashing to the floor, seeing that the almost one year old on my hip had emptied the utensil drawer.

I could hear the four old making lots of noise from the living room and so I carried almost one year old and three year old to see what was up. He was running his trucks through the maze laid out in a random pattern on practically every square inch of the living room floor. All’s well here, back to the “jelly” sauce.

boy and girl

The four year old, Jack, and the three year old, Mary.

Meanwhile the six old was yelling for help with her Ipad. Maggie has cerebral palsy and has a way of letting us all know when her Ipad is not cooperating with her limited hand movement. Right now she was letting me know…loudly.

girl with horse

The six year old, Maggie

“Jelly” sauce simmering, noodles boiling and three year old slopping melted garlic butter on a tower of French bread. I heard her say, oops, never a good sign. Seems as if some of the garlic butter has found its way down her chest and onto the fabric covered chairs. No problem, just mixing with the strawberry ice cream drops from the night before.

I pop the garlic bread into the oven to broil (toast) and head to the sink to drain the noodles. Almost one year old is trying to crawl up my leg and I notice the sink is full of cups. I set the strainer on the cups, it will be ok they aren’t washed yet anyway, and dump the noodles. Cups not stable, strainer tips. I grab for HOT noodles as many slide down the drain.

Then I smell scorched bread. Our garlic toast is going to be a bit crisper and darker than I had planned.

I holler to the almost four year old, “Jack go tell Grandpa that grandma needs him…NOW!

family

Grandpa and the three year old! We were all worn out!!

How did I get into this predicament anyway? I am 63 with a 64 year old husband and three years ago our youngest child got married and left home, this was after 39 years of in-house parenting.

So how did I get into this predicament?

My daughter and son in law and four grandchildren have come to live for a while, a few weeks or months while their home sells and another comes into their lives. It makes for tight quarters in our three bedroom apartment.

Frankly, the last few days have been a lot like raising our seven children in our 100 year old home in a small town in Montana, chaos, noise, mess, spills, crying, laughing, fun, not so fun….

I am reminded that it isn’t easy being a parent. Life isn’t what we thought it would be when we married and started having kids. It has been quite a bit more challenging and messy than we anticipated…a bit like the last few days. But oh my goodness, it has been worth it!!!

large family

Our family!

Possibly Related Posts:


{ 1 comment }

Chinese New Year – Year of the Snake

by Mary Ann on February 8, 2013


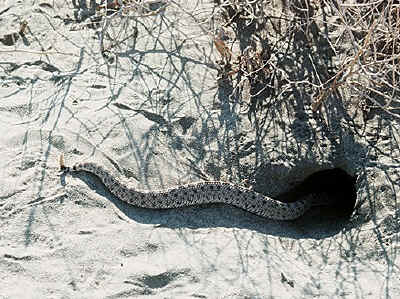
snake picture

Rattlesnake entering its burrow.
Photo Source: National Geographic Photo Gallery
Photographer: Bruce Dale

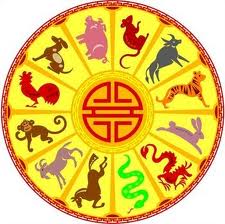
On February 10, Sunday, we celebrate the Chinese New Year – the year of the Snake. When I was a child I saw a Chinese Zodiac and the year of my birth makes me an OX. Not a very glamorous animal. I always thought it would be way more fun to say that I was a tiger or a dragon. Yes a dragon would have been perfect. However, for me it is an OX and this is the Year of the Snake.

Year of the SnakeThe Chinese Zodiac, known as Sheng Xiao in Chinese, is based on a twelve year cycle, each year in that cycle related to an animal sign. These animal signs are the rat, ox, tiger, rabbit, dragon, snake, horse, sheep, monkey, rooster, dog and pig. It is calculated according to the Chinese Lunar Calendar . The selection and order of the animals that influence people’s lives very much was originated in the Han Dynasty (206 – 220) and based upon each animal’s character and living habits. This is the Year of the Snake.
Whenever there is a special event in the world, such as a holiday, it gives you a wonderful opportunity to create some special learning experiences for your children. In this case you could learn about the Chinese New Year itself and recreate the celebration in our home.

You could learn the difference between astronomy and astrology and there is a big difference.

You could study the country of China, the writing, the history, the culture, the arts.

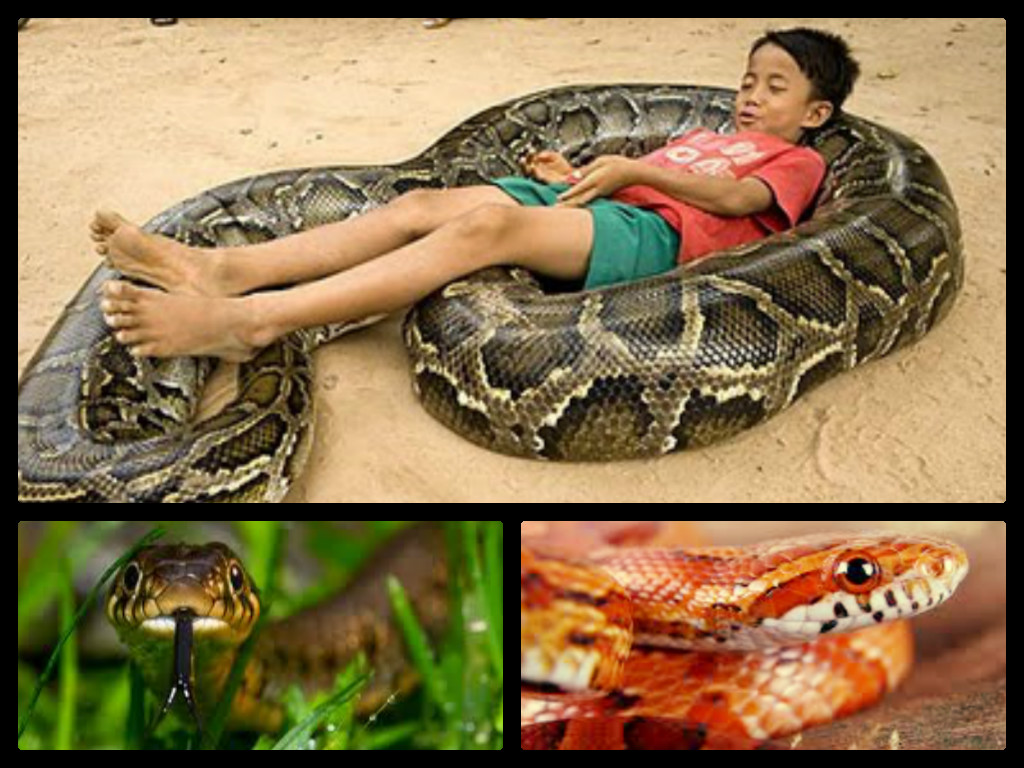
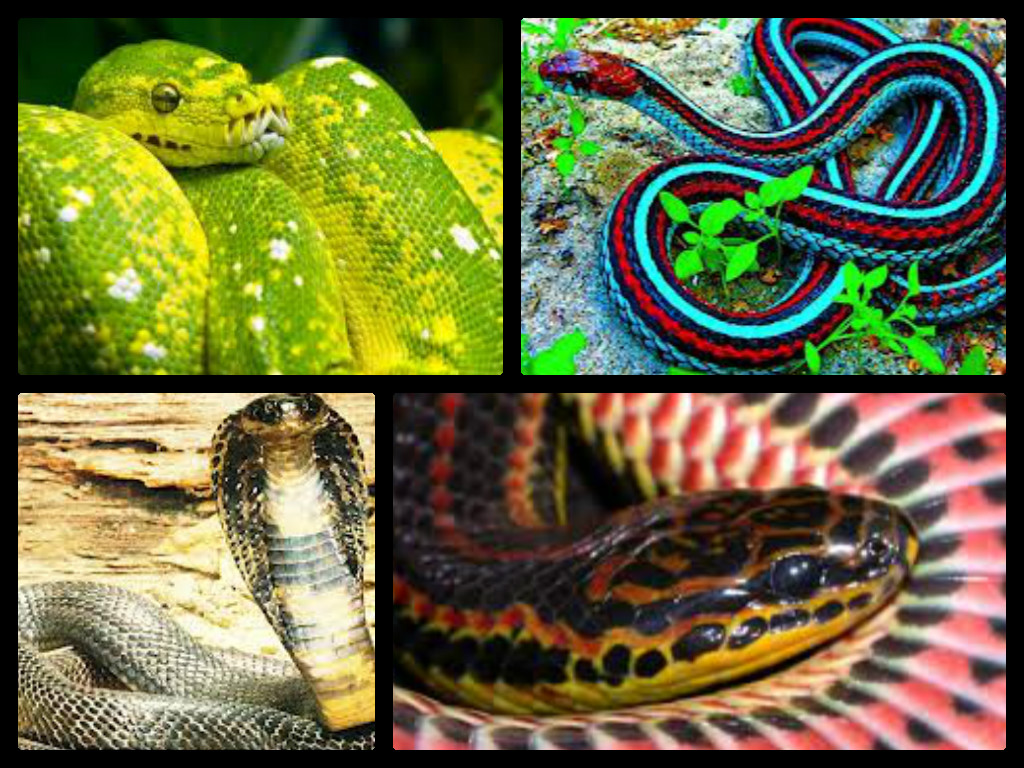
As I have been thinking about it I have decided to help you come up with a very unique way to celebrate the Chinese New Year: learn about snakes. After all it is the year of the Snake.

snake pictures

Below you will find a raft of activities that you can share with your children, using your Spark Station, to interest and enthuse them to learn about snakes. Take the next week or month, put books and materials about snakes into your Spark Station and extend your learning of the Chinese New Year. Enjoy!

Chinese New Year-Year of the Snake Super Facts

• Did you know…There are about 2,700 species of snakes, of these 375 are venomous.
• Did you know…Brahminy blind snakes are the smallest snake at two inches in length. The anaconda can reach lengths of 38 feet.
• Did you know…In captivity, some species will live as long as 50 years.
• Did you know…Most snake species lay eggs, but some species give birth to live young.
• Did you know…Snakes don’t have eyelids.
• Did you know…Snakes can’t bite food so they have to swallow it whole.
• Did you know…Snakes smell with their tongue.

Chinese New Year-Year of the Snake Books to Read

Put some good books into your Spark Station to get your children excited to learn more about snakes.

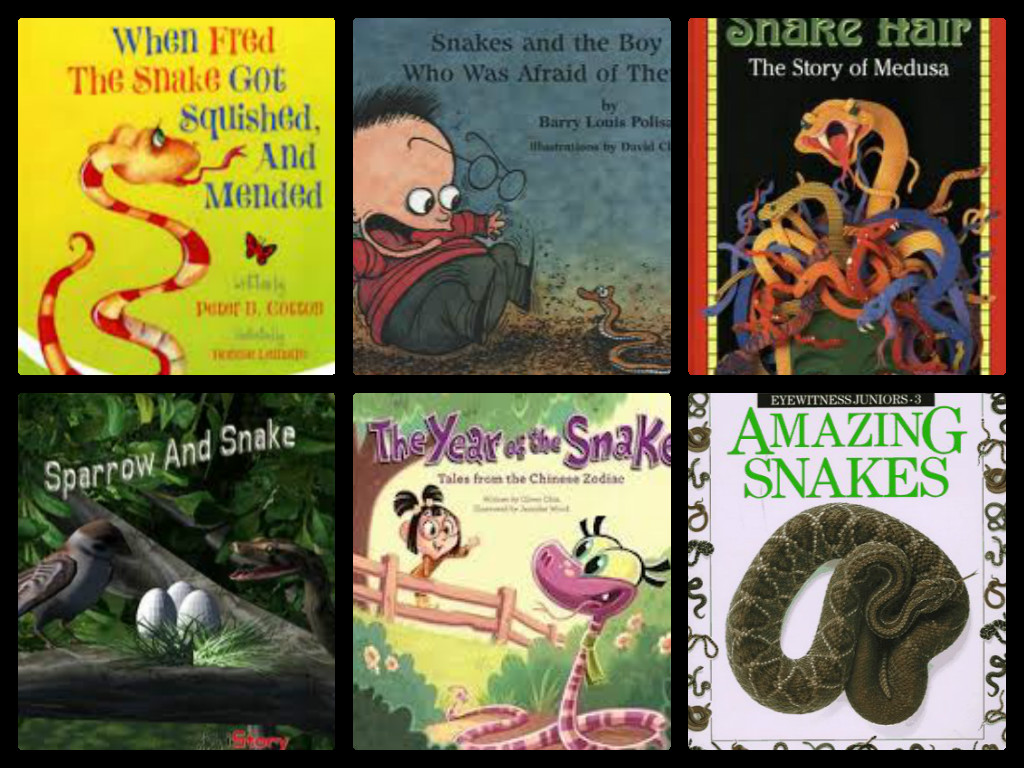
snake books

1. Introduce Aesop’s Fables. Aesop used the snake to teach lessons about life. You can find these stories in any Aesop’s fables book. Here are some story titles:
• The Laborer and the Snake
• The Farmer and the Snake
• The Serpent and the Eagle

2. Read fictional stories books about snakes

• Snakes and the Boy Who Was Afraid of Them by Louis P. Barry
• The snake Who Was Afraid of People by Louis P. Barry
• Never Fear My Dear! by Rolf Siegenthaler
• The Day Jimmy’s Boa Ate the Wash by Trinka Hakes Noble
• The Great Snake Escape by Molly Coxe
• The Last Snake in Ireland: A Story about St. Patrick by Sheila Macgill-Callahan
• Jimmy’s Boa and the Bungee Jump Slam Dunk by Trinka Hakes Noble
• “Verdi” by Janell Cannon

3. Read some non-fiction about snakes.
Discuss what the snakes eat, where they live and how they survive. Talk about how and why snakes shed their skin

• Amazing Snakes by Alexandra Parsons
• African Rock Pythons by Valerie J. Weber
• Eyewitness: Reptile by Colin McCarthy
• See More Readers Giant Snakes by Seymour Simon
• Desert Animals: Rattlesnakes by Emily Rose Townsend
• Slinky, Scaly, Slithery Snakes by Dorothy Hinshaw Patent
• Time For Kids: Snakes by Editors of TIME For Kids
• Snakes by Melissa Gish
• Snake-Tacular by Jeff Corwin
• The Fascinating World of Snakes by Maria Angels Julivert
• Welcome to the World of Snakes by Diane Swanson

Chinese New Year-Year of the Snake Games

Put the required materials for each game, art activity etc. into your Spark Station and watch your children get inspired to learn!

1. Have a snake egg hunt
For this find some small rocks. Have your children paint them with different colors or use markers. After decorating the eggs, hide them in a selected area somewhere outside or in your home. Once all the “snake eggs” are hidden, have the children pretend to be predators looking for food. Have them locate the rocks. Discuss which rocks were hidden the best and perhaps include a discussion on camouflage.

2. Play a snake game – “ssssilent sssstalking”
One child stands in a circle of children. They are blindfolded. Each person in the circle has an assigned number. When that number is called out they must try to approach the person in the middle without making any noise. The person in the middle must point in the direction of any noises heard. If they identify the direction of the sound correctly that person is out. You can then send a new person into the center if you want. The point of the game is to demonstrate how quiet you have to be not to be spotted by a predator. Also predators must be paying attention to spot prey.

Chinese New Year-Year of the Snake Art

snake color page1. Year of the Snake to color

2. Draw that Snake Activity
For this activity name a snake and have children draw what they think it would look like based on its name. Then show them a picture of the snake they just drew. (red-eared slider, pipe snake, tree viper, alligator snake, black rat snake, mud snake, pit viper, copperhead, coral snake, hognose snake, mamba, cotton mouth, side winder)

3. Make a paper plate snake
Provide each child with a paper plate, safety scissors, crayons, markers, glitter and a pair of googly eyes. Show the children how to use the scissors to cut the paper plate in a circle by starting at one edge and ending in the middle of the plate. You can then have them decorate their snakes with eyes, glitter, markers, paint, etc.
4. Make a play dough snake
Make play dough by combining 3 cups flour, 1 cup water, 1 cup salt and 1 tbsp. vegetable oil in a large bowl. Add bright green food coloring and knead the ingredients together until smooth. They can color the dried snakes with markers. You can have them add eyes and even glitter. This is the perfect time to share snake facts.

5. Print off some snake coloring pages, here and here

Chinese New Year-Year of the Snake Riddles and Songs

1. Every day at lunch, for the whole week, ask a new snake riddle. Maybe your kids will come up with some of their own.

Snake Riddles
Q: What subject are snakes good at school?
A: Hiss-tory !
Q: What kind of snake is good at math?
A: An Adder!

Q: What did the snake give to his wife?
A: A goodnight hiss!

Q: What do you get if you cross a snake with a pie?
A: A pie-thon!

Q: What do snakes do after they fight?
A: Hiss and make up!

You can check out a couple more riddles here, as well as a coloring page to go with each one.

2. Sing a silly snake song

A Silly Slippery Snake
(Tune of “If You’re Happy and You Know It”)

Oh, I wish I was a silly, slippery snake.
Oh I’d slither across the floor and I’d slip under the door
Oh, I wish I was a silly, slippery snake.

child with snake

Chinese New Year-Year of the Snake Activities

1. Visit a nearby zoo or pet shop to see some snakes

2. Make a dot to dot snake

3. Watch a video about snakes

Chinese New Year-Year of the Snake Food

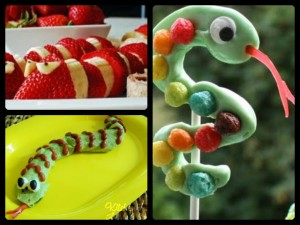
snake treats1. ssssslithering ssssnake ssssssuckers

2. Slithering Snake Burritos

3. Strawberry Banana Snake

If you love having so many ideas about Chinese New Year – Year of the Snake at your fingertips check out the fabulous Rockin Spark Station Idea Packets.

Possibly Related Posts:


{ 4 comments }

Making Carob Candy

by Mary Ann on January 19, 2013

Making Carob Candy – Carob Walnut Coconut Bars

Making Carob Candy Bars

I have been experimenting with making carob candy. I haven’t been able to eat chocolate for many, many years. Please don’t email me about “good” chocolate; the cacao bean is the problem. That being said, I sometimes miss a good piece of candy because white chocolate gets tiresome and with out chocolate look at your choices – Skittles, Chick-o-stick, Nurds….you get the drift. So I have been experiencing with making my own carob candy.

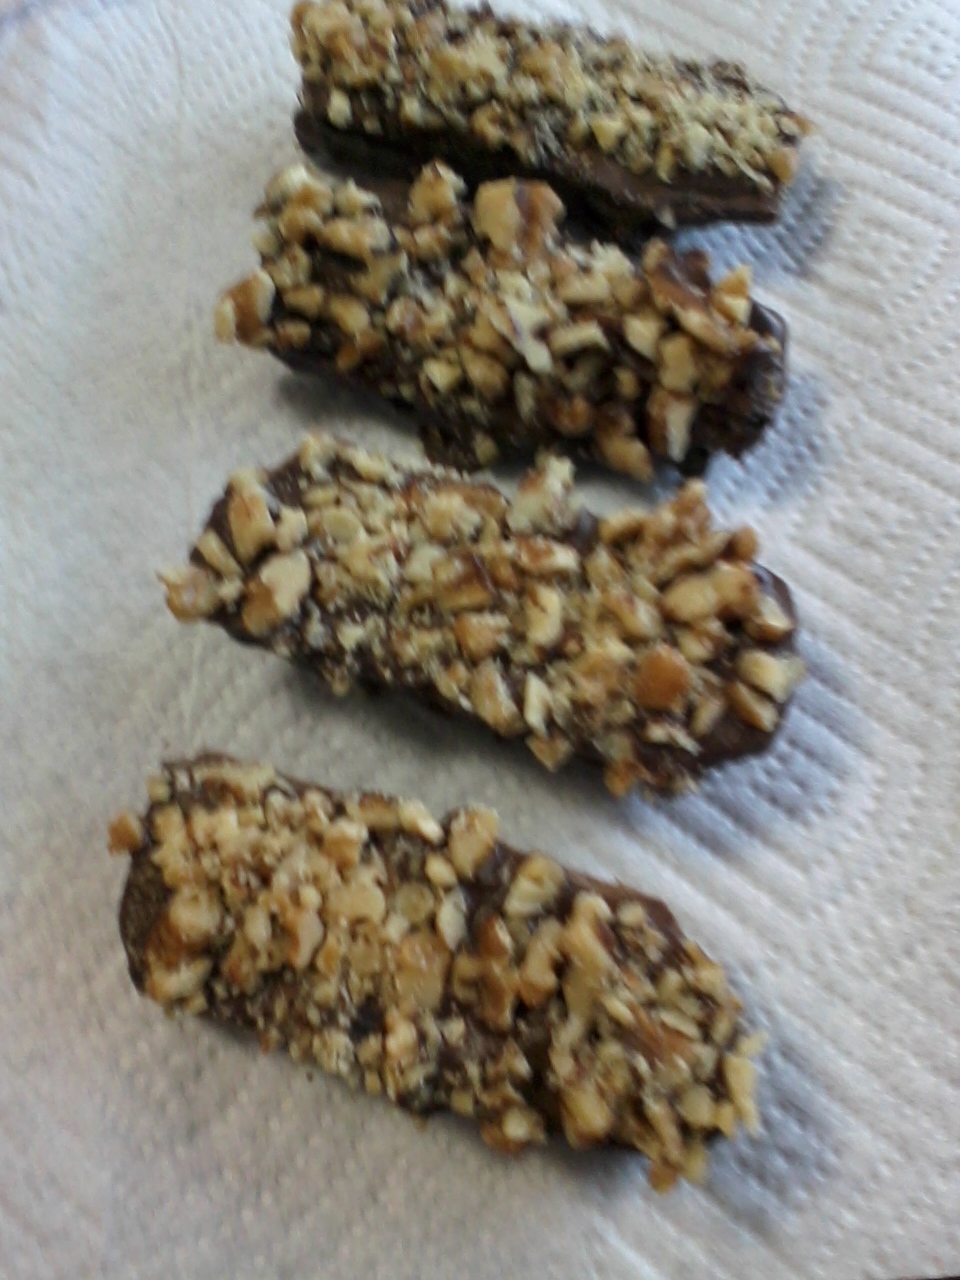
This week I made some Almond Joy bars, except that I didn’t use almonds. I actually made Carob Walnut  Coconut Bars : ); always doing my own thing.

They turned out so well for a first try that I just had to post them on Facebook for all my friends to see. The response was great and there were just too many requests for the recipe on how to make carob candy to answer them one by one. So I am posting the recipe here, along with some of my comments. Now I can send everyone here for the directions to make carob candy.

I used the recipe below to make carob candy bars. It is an Almond Joy recipe. I have given you the link where it can be found. The problem was that I didn’t have any condensed sweetened milk and so I used plain evaporated milk. That meant that I had to add a bit more powdered sugar so it wouldn’t be too thin.

Making Carob Candy Bars

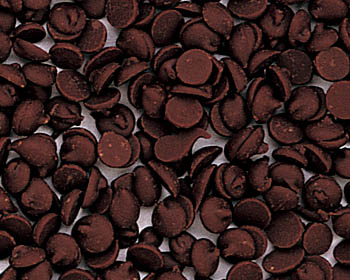
You can substitute vegan carob chips for chocolate chips when making carob candy

It tastes great and kids would love it but for me it is a bit too sugary. I think that even with the condensed sweetened milk it would be too sweet for me. So I have done a bit more research and found a recipe that doesn’t take any condensed milk or powdered sugar. It calls for rice syrup instead. Can’t wait to try this recipe for making carob candy. I haven’t tried this yet, after all I still have a dozen carob coconut walnut bars to eat. However, I am passing it along because I am going to try it and I think it might just fit the bill for me and maybe for you too.

I followed the first recipe as is, except for the condensed milk change and the extra powdered sugar. Then I pressed the mixture into the pan and let it cool in the refrigerator for a few days. Hmmmm, I was busy. : )

When I found time to finish making carob candy bars I cut the mixture into bars about 4 inches long. When it came time to dip them I didn’t think they held together well enough and that made coating them a bit challenging. It might have been the thinner milk or the extra powdered sugar that caused the problem. Regardless of why, when I make them next I will not cut the bars longer than 2 inches. Even if they hold together better next time a shorter bar will be easier to coat.

Making Carob Candy Tips

Making Carob Candy

Vegan carob chips have a milder and sweeter taste for making carob candy.

I have been using carob for many years. I usually buy regular carob chips. The flavor is pretty strong and my husband has never liked it. Ahhhh, my candy is safe. : ) The last time I purchased the chips I noticed the vegan carob chips and wondered what the taste difference would be. I looked at the ingredients and found that carob powder was not the first ingredient in the vegan chips, as in the regular carob chips. After tasting both, it was clear that the vegan carob chips had a much lighter flavor and were sweeter and would work even better when making carob candy. My husband likes them and my candy is no longer safe! Now I always choose vegan carob chips when making carob candy.

One of the things that makes carob so different from chocolate is its melting point and its fat content. When you put a piece of chocolate in your warm mouth is melts rather quickly. The better grade the chocolate the faster it melts.

When you put carob into your mouth it sits there…for a good long while. It

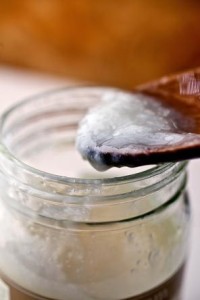
oil of coconut

Coconut oil helps carob melt better.

doesn’t melt quickly at all. I knew that that made a difference in the whole candy experience; so to combat that I began adding some coconut oil to my carob. WOW!!! It makes a world of difference. In the recipe below I added a heaping tablespoon of coconut oil to the chips. Don’t overdo because you do want your carob to set up well.

I do not have a dipping fork and I am far too impatient for the whole two fork dipping thing. So here is what I did. I picked up a bar and with a spoon I covered the whole top and sides by dripping the spoon contents on the bar. (Neatness and looks was not my main concern.) If the bars had been holding together better I would have just dipped the bar into the carob to cover the bottom and sides. Then I put the bar onto waxed paper and popped it into the refrigerator to set.

While the bars were setting I chopped up some walnuts. I didn’t have any almonds, having eaten them up on the busy days while the bars were in the refrigerator. Oh well. I just substituted the walnuts instead.

I spread the walnuts out on a piece of waxed paper. Then I took each bar and turned it over, spread some carob on the uncoated side with my spoon and tipped it into the walnuts. Then back to the waxed paper and into the refrigerator to set again.

Here is a report on how they taste. They are good. Interestingly enough they are less sweet with the carob coating than before. So I can enjoy them. Also, a 4 inch bar is far more candy than I can eat at one sitting so a 2 inch bar will be perfect.

Side note: Some of my bars were just too crumbly to coat. So I crumbled them up into the left over carob and added a good amount of chopped walnuts. This I spread out onto a piece of waxed paper. There was considerably more coconut and nuts than carob and so it didn’t stick together like a bar at all. It also stayed chewy. Frankly, Don and I liked it better than the bars. All the leavings are gone and the bars are left. Next time I may just save myself some time and make the whole thing like this. : )

Enjoy making your own carob candy. Why not let your children help!! Be brave and experiment  with different carob candy options. Even a failure tastes GREAT!!

If you have some carob candy adventures or recipes to share we would love to see them. Leave your comments below.

Making Carob Candy – Carob Coconut Walnut Bars

Ingredients:
• 5 fl oz condensed milk
• 1 tsp vanilla extract
• 1/4 tsp salt
• 2 cups powdered sugar
• 14 ounces shredded sweetened coconut
• 24 ounces semisweet chocolate chips (substitute with vegan carob chips and 1 TB coconut oil)
• 2 tbsp shortening
• 3/4 cup whole toasted almonds (you can substitute walnuts like I did)

Preparation:
1. Prepare a 9×13 pan by lining it with aluminum foil and spraying the foil with nonstick cooking spray.
2. In a large mixing bowl, stir together the condensed milk, salt and vanilla with a spatula or wooden spoon.
3. Sprinkle in the powdered sugar gradually until it is well-incorporated, then add the coconut and stir until combined.
4. Press the candy into the prepared pan in an even layer. You may not use the whole pan if you prefer a thicker coconut candy. While the candy is still soft, press the whole almonds into the tops at even intervals to embed them slightly in the candy. Place the pan in the refrigerator to set the candy, about 1 hour.
5. Once firm, remove from the refrigerator and use a sharp knife to cut the candy into small rectangles.
6. Microwave the chocolate with the shortening in a microwave-safe bowl until melted, stirring every minute.
7. Using dipping tools or two forks, immerse the coconut bar completely in the chocolate and then bring it up, dragging it on the lip of the bowl to remove excess chocolate. Place it on a foil-lined baking sheet and repeat with the remaining candy.
8. Place back in the refrigerator until the chocolate has set.


Possibly Related Posts:


{ 2 comments }