Making Carob Candy Bars
I have been experimenting with making carob candy. I haven’t been able to eat chocolate for many, many years. Please don’t email me about “good” chocolate; the cacao bean is the problem. That being said, I sometimes miss a good piece of candy because white chocolate gets tiresome and with out chocolate look at your choices – Skittles, Chick-o-stick, Nurds….you get the drift. So I have been experiencing with making my own carob candy.
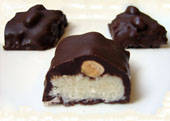
This week I made some Almond Joy bars, except that I didn’t use almonds. I actually made Carob Walnut Coconut Bars : ); always doing my own thing.
They turned out so well for a first try that I just had to post them on Facebook for all my friends to see. The response was great and there were just too many requests for the recipe on how to make carob candy to answer them one by one. So I am posting the recipe here, along with some of my comments. Now I can send everyone here for the directions to make carob candy.
I used the recipe below to make carob candy bars. It is an Almond Joy recipe. I have given you the link where it can be found. The problem was that I didn’t have any condensed sweetened milk and so I used plain evaporated milk. That meant that I had to add a bit more powdered sugar so it wouldn’t be too thin.

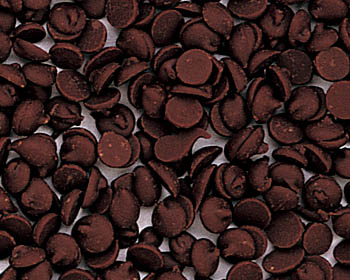
You can substitute vegan carob chips for chocolate chips when making carob candy
It tastes great and kids would love it but for me it is a bit too sugary. I think that even with the condensed sweetened milk it would be too sweet for me. So I have done a bit more research and found a recipe that doesn’t take any condensed milk or powdered sugar. It calls for rice syrup instead. Can’t wait to try this recipe for making carob candy. I haven’t tried this yet, after all I still have a dozen carob coconut walnut bars to eat. However, I am passing it along because I am going to try it and I think it might just fit the bill for me and maybe for you too.
I followed the first recipe as is, except for the condensed milk change and the extra powdered sugar. Then I pressed the mixture into the pan and let it cool in the refrigerator for a few days. Hmmmm, I was busy. : )
When I found time to finish making carob candy bars I cut the mixture into bars about 4 inches long. When it came time to dip them I didn’t think they held together well enough and that made coating them a bit challenging. It might have been the thinner milk or the extra powdered sugar that caused the problem. Regardless of why, when I make them next I will not cut the bars longer than 2 inches. Even if they hold together better next time a shorter bar will be easier to coat.
Making Carob Candy Tips

Vegan carob chips have a milder and sweeter taste for making carob candy.
I have been using carob for many years. I usually buy regular carob chips. The flavor is pretty strong and my husband has never liked it. Ahhhh, my candy is safe. : ) The last time I purchased the chips I noticed the vegan carob chips and wondered what the taste difference would be. I looked at the ingredients and found that carob powder was not the first ingredient in the vegan chips, as in the regular carob chips. After tasting both, it was clear that the vegan carob chips had a much lighter flavor and were sweeter and would work even better when making carob candy. My husband likes them and my candy is no longer safe! Now I always choose vegan carob chips when making carob candy.
One of the things that makes carob so different from chocolate is its melting point and its fat content. When you put a piece of chocolate in your warm mouth is melts rather quickly. The better grade the chocolate the faster it melts.
When you put carob into your mouth it sits there…for a good long while. It

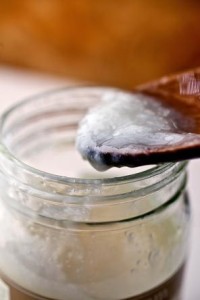
Coconut oil helps carob melt better.
doesn’t melt quickly at all. I knew that that made a difference in the whole candy experience; so to combat that I began adding some coconut oil to my carob. WOW!!! It makes a world of difference. In the recipe below I added a heaping tablespoon of coconut oil to the chips. Don’t overdo because you do want your carob to set up well.
I do not have a dipping fork and I am far too impatient for the whole two fork dipping thing. So here is what I did. I picked up a bar and with a spoon I covered the whole top and sides by dripping the spoon contents on the bar. (Neatness and looks was not my main concern.) If the bars had been holding together better I would have just dipped the bar into the carob to cover the bottom and sides. Then I put the bar onto waxed paper and popped it into the refrigerator to set.
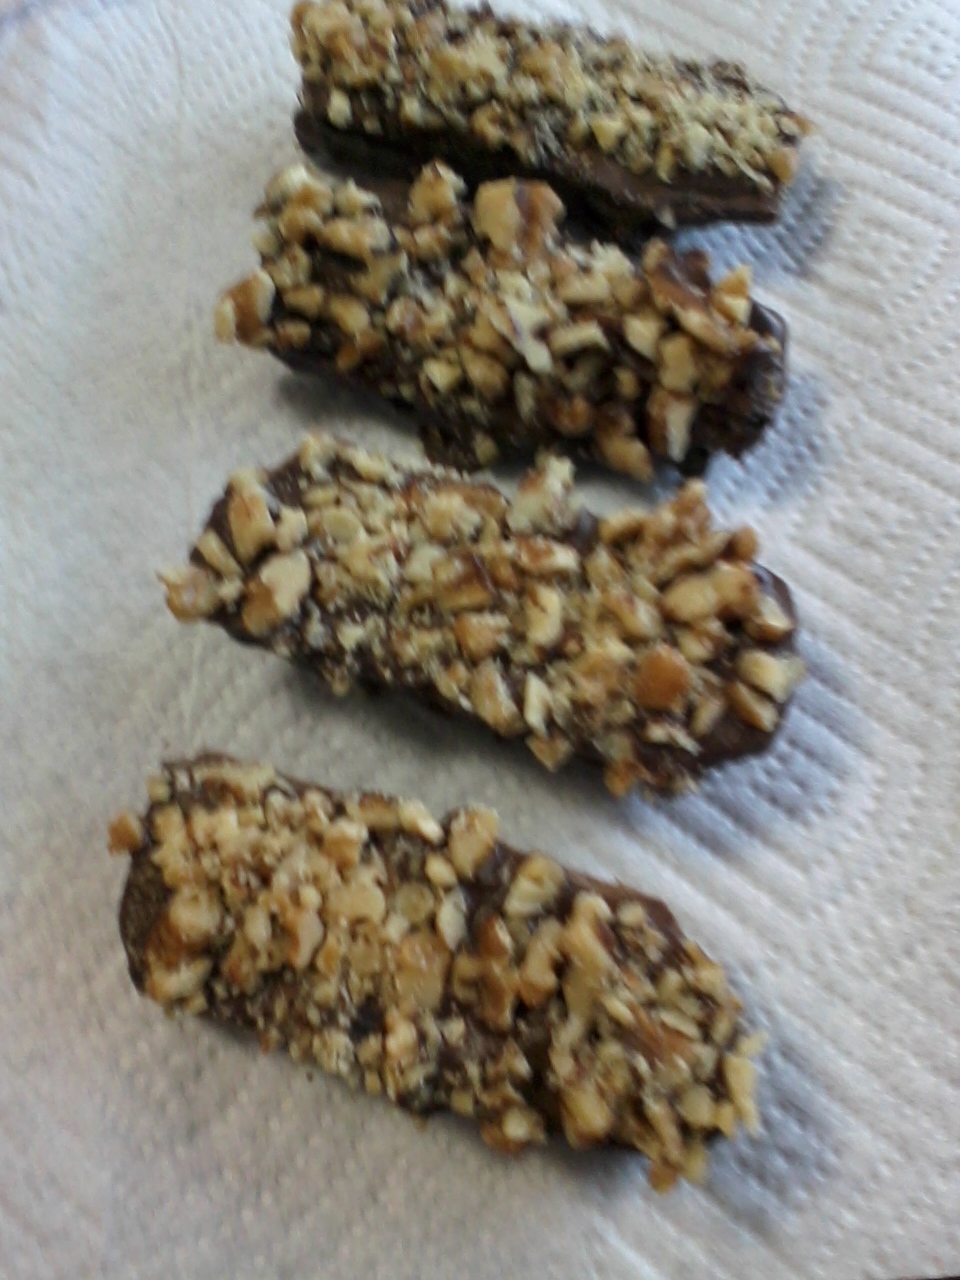
While the bars were setting I chopped up some walnuts. I didn’t have any almonds, having eaten them up on the busy days while the bars were in the refrigerator. Oh well. I just substituted the walnuts instead.
I spread the walnuts out on a piece of waxed paper. Then I took each bar and turned it over, spread some carob on the uncoated side with my spoon and tipped it into the walnuts. Then back to the waxed paper and into the refrigerator to set again.
Here is a report on how they taste. They are good. Interestingly enough they are less sweet with the carob coating than before. So I can enjoy them. Also, a 4 inch bar is far more candy than I can eat at one sitting so a 2 inch bar will be perfect.
Side note: Some of my bars were just too crumbly to coat. So I crumbled them up into the left over carob and added a good amount of chopped walnuts. This I spread out onto a piece of waxed paper. There was considerably more coconut and nuts than carob and so it didn’t stick together like a bar at all. It also stayed chewy. Frankly, Don and I liked it better than the bars. All the leavings are gone and the bars are left. Next time I may just save myself some time and make the whole thing like this. : )
Enjoy making your own carob candy. Why not let your children help!! Be brave and experiment with different carob candy options. Even a failure tastes GREAT!!
If you have some carob candy adventures or recipes to share we would love to see them. Leave your comments below.
Making Carob Candy – Carob Coconut Walnut Bars
Ingredients:
• 5 fl oz condensed milk
• 1 tsp vanilla extract
• 1/4 tsp salt
• 2 cups powdered sugar
• 14 ounces shredded sweetened coconut
• 24 ounces semisweet chocolate chips (substitute with vegan carob chips and 1 TB coconut oil)
• 2 tbsp shortening
• 3/4 cup whole toasted almonds (you can substitute walnuts like I did)
Preparation:
1. Prepare a 9×13 pan by lining it with aluminum foil and spraying the foil with nonstick cooking spray.
2. In a large mixing bowl, stir together the condensed milk, salt and vanilla with a spatula or wooden spoon.
3. Sprinkle in the powdered sugar gradually until it is well-incorporated, then add the coconut and stir until combined.
4. Press the candy into the prepared pan in an even layer. You may not use the whole pan if you prefer a thicker coconut candy. While the candy is still soft, press the whole almonds into the tops at even intervals to embed them slightly in the candy. Place the pan in the refrigerator to set the candy, about 1 hour.
5. Once firm, remove from the refrigerator and use a sharp knife to cut the candy into small rectangles.
6. Microwave the chocolate with the shortening in a microwave-safe bowl until melted, stirring every minute.
7. Using dipping tools or two forks, immerse the coconut bar completely in the chocolate and then bring it up, dragging it on the lip of the bowl to remove excess chocolate. Place it on a foil-lined baking sheet and repeat with the remaining candy.
8. Place back in the refrigerator until the chocolate has set.
Possibly Related Posts:
- Shedding My Skin
- Take Control This Summer – Your Stories Affect Your Family Relationships
- Touchpoints For Summer PRESENCE
- Top 10 Educational Apps for Kids
- Family Matters: 4 Pool Games for Having Fun as a Family – Guest Post


{ 2 comments… read them below or add one }
I copied the candy recipe and will need to modify it as I am diabetic and regulating it with diet. I use Stevia for sweetening. It worked great for my Cherry-Carob cookies.
Lynn I got the recipe. Thank you for sharing and I am so glad that you were able to make this.