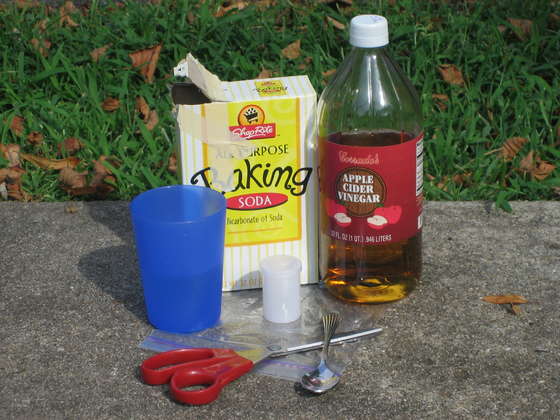
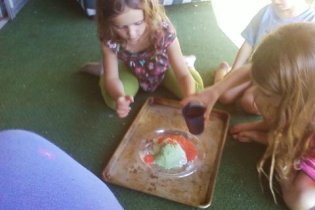
The second item on my kitchen list was soda and vinegar. Of course most of you have seen or heard of making a volcano by mixing soda and vinegar. One family I worked with made a wonderful bubbling swamp. They had a great time but when asked why it did what it did no one was prepared to tell the children. So parents need to be students too. You can find out about anything you want to know on the web.
We want our children to have a ball learning about all kinds of things and so we want to be able to answer their questions or lead them into finding the answers for themselves. If we are watching them do a project or helping them and they don’t ask why, we can just engage in conversation. We can say things like…Do you know what I discovered…Can you believe…How do you think that happened…What do you think would happen if…and so forth. That is why we are there, that is why we need to stay present; that is what makes our family learning time really tick!
This baking soda and vinegar reaction demonstrates a chemical reaction. The reaction between baking soda and vinegar is actually two reactions, an acid base reaction followed by a decomposition reaction.
When the two ingredients are mixed, hydrogen ions from the vinegar react with the bicarbonate ions from the baking soda to form a new chemical called carbonic acid. You can tell even a 4 year old that they just created a new chemical. How cool is that.
The carbonic acid thus formed then immediately decomposes into carbon dioxide gas and water. It’s this carbon dioxide gas that you see bubbling and foaming as soon as you mix baking soda and vinegar together.
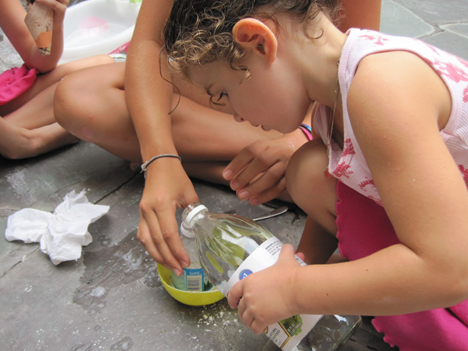
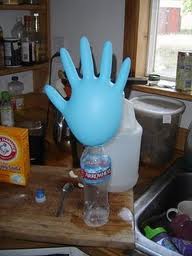
Here are some more ways that you can see this chemical reaction happen.
1. Vinegar & Baking Soda Foam Fight
5. Demonstrating the chemical reaction
So how can we use these kitchen substances in our Spark Station? On the day that they appear for the first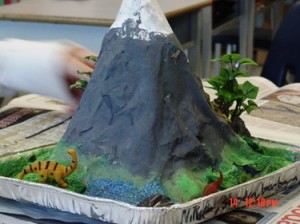 time have the materials for making a volcano. Why not go all out and create a chicken wire armature and use paper mache or old newspaper strips and flour-water paste to make a volcano. When it is dry paint it. Then do the experiment. (See How To below)
Have a book on Pompeii, maybe some pictures and articles on Mount St Helens and why not newspaper articles about the current eruption in Iceland. Have a good book of pictures about volcanoes. Get a book on Iceland and have a map. Find Iceland and Mt. St. Helen’s in Skamania County, Washington. Have a book on Italy and find it on the map.
Pompeii was a Roman town-city near modern Naples in the Italian region of Campania.
Why not get a book on Rome. Then make a Roman soldiers costume. There are books that show simple ways to do that. Can you see how one thing just leads to another? And all we started with was a bottle of vinegar and a box of soda. Every few days or once a week add the makings for another experiment or activity having to do with vinegar and soda or any other thing that relates to it in any way.
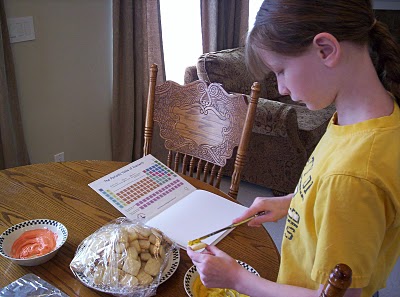
If you have older children they might be interested in seeing a Periodic Table. Help them write out what the chemical reaction would look like using the table.
All this information is easy to find. In fact I couldn’t remember what the Periodic Table was called so I just typed in “chemistry chart” and voila! Let me also say that I never took chemistry but that doesn’t stop me from introducing my children to it. I can learn what I need, that is age appropriate, via Google!
Do you see how just a few simple items and a tiny bit of thought and time can give your children days of wonder and fun. I found everything I needed in thirty minutes. I could gather most of the suggested materials right in my home. I could have them in the closet by tomorrow.
As I have said over and over, don’t wait. Start today creating a magical learning space for your children so you can hear “Mommy is it time for school yet?” “Can we have school again, now?” “Mom, I can’t wait until tomorrow to do home school and sit in our library and read.”
How To Make A Volcano: A simple way
We used chicken wire to form the armature but you can also use Armature wire. It is just bendable aluminum wire and can be formed into any shape you want. It can be purchased at most craft or art supply stores. Use an empty plastic bottle of some sort to form the wire around. This is the aperture that you will use to fill with soda and baking powder. (I have also tapped balls of foil to the jar, covered it with paper and then the paper mache) Then tear newspaper into many, many long strips. Dip the strips into paper mache glue. Use your fingers to strip off excess glue and place the newspaper strip over the armature. (If you use chicken wire, cover the armature with paper before adding newspaper strips) The pieces will need to over lap and you will need a couple of layers. This will take at least a day to dry.
Paper Mache Glue
This no-cook paper mache paste is good because it doesn’t use heat, so children can make it themselves.
Marerials Needed: Water and Flour
Instructions:
To make this paper mache paste, simply mix together 1 part flour to 2 parts water. You will want it to be the consistency of thick glue, but you also want it to be runny and not thick like paste. Add more water or flour as necessary. Mix well to remove any lumps. (A whisk and a strong arm work well here. It doesn’t have to be perfectly smooth and won’t be if children are making it. : )
Here are a couple of sites that use different techniques to build the volcano.
Possibly Related Posts:
- Top 10 Educational Apps for Kids
- 5 Ways to Help Your Child Think Like a Scientist
- Best Apps For Homeschool – Guest Post
- STUCK! Get help!!
- Inspiring Learning



{ 0 comments… add one now }